Materials You’ll Need:
- 1 old sweater (wool or thick knit works best)
- Stuffing (recycled from old pillows or polyester fiberfill)
- Scissors
- Needle & thread (or sewing machine)
- Measuring tape
- Fabric marker/chalk
- Optional: Non-slip fabric for the base
Step-by-Step Guide:
1. Prep the Sweater
- Turn the sweater inside out.
- Lay it flat and measure your dog’s length (nose to tail) + 4–6 inches for comfort.
2. Cut & Shape
- Cut off the sleeves (save for later).
- Mark a U-shape along the sweater’s bottom (for the bed’s front opening).
- Sew the neckline shut to create a pouch.
3. Stuff It
- Fill the sweater body with stuffing, focusing on the edges for support.
- For extra warmth, add a layer of fleece inside before stuffing.
4. Secure the Base
- Fold the sweater’s bottom hem inward and stitch closed.
- For stability, attach a non-slip fabric square to the underside.
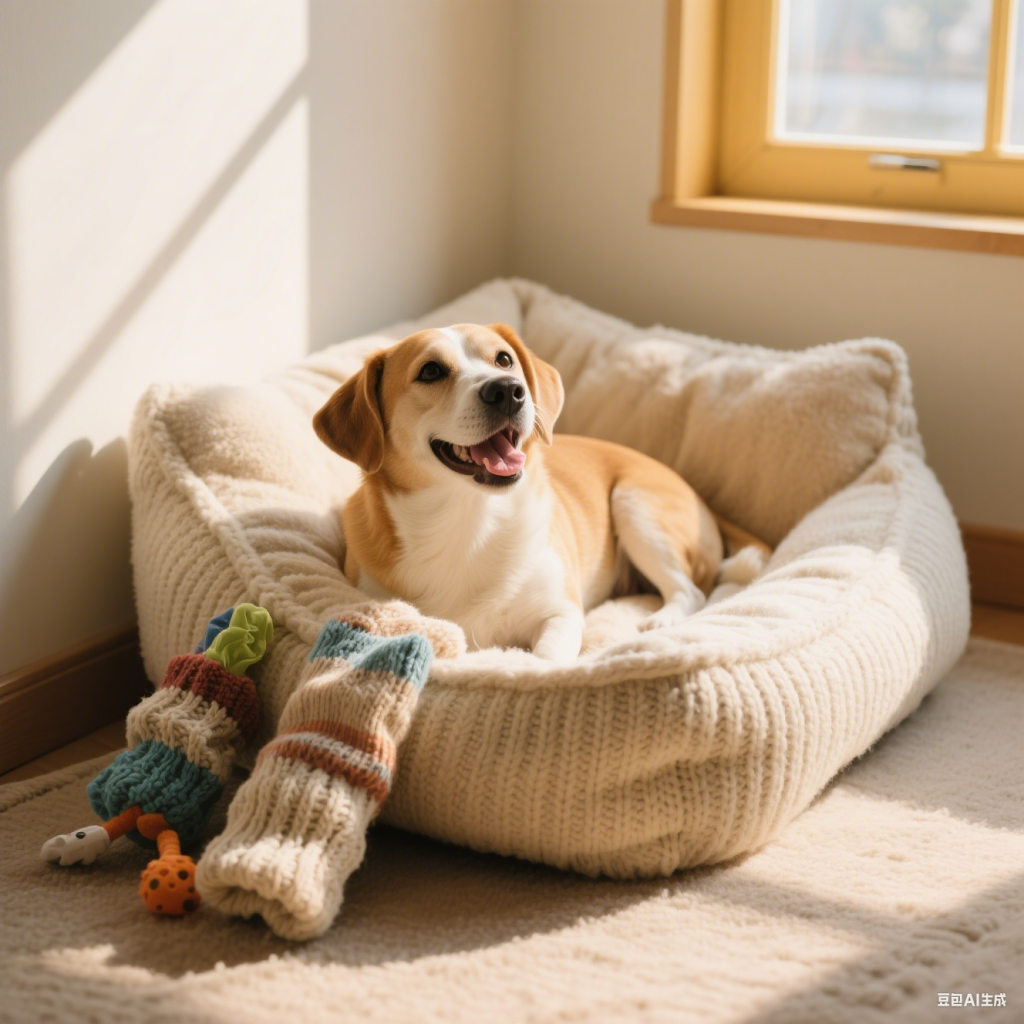
5. Bonus: Sleeve Toy
- Stuff a sleeve with crinkly plastic or catnip, then knot the ends—a free chew toy!
Pro Tips:
- Use bright sweaters to hide pet hair.
- Wash the bed in a laundry bag to maintain shape.
Why It Works:
Dogs love nesting in soft, enclosed spaces. This upcycled bed saves money, reduces waste, and smells like you—comforting for anxious pups!
Tag your DIY results with #SweaterPupBed! 🐾