If you live with a playful pet, you know the struggle — toys scattered everywhere like confetti after a party. Chew bones under the couch, squeaky balls on the stairs, and plush mice mysteriously appearing in your shoes. The solution? A DIY pet toy storage basket that’s as stylish as it is practical.
Why It’s More Than Just Storage
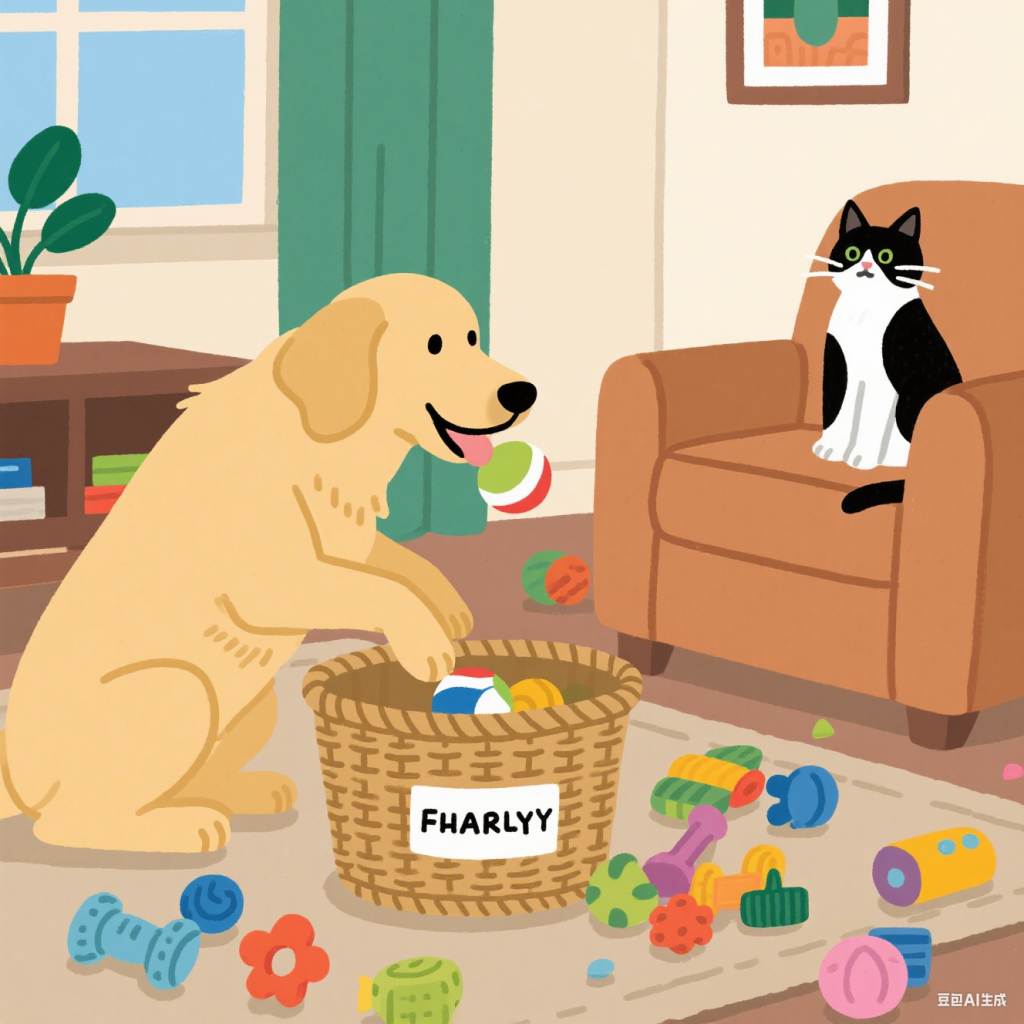
A toy basket isn’t just about tidiness — it’s about creating a routine. Teaching your pet to have a “toy home” can reduce stress, prevent accidental injuries (no more tripping over squeaky toys at night), and make playtime easier. Plus, a well-designed basket can actually become part of your décor rather than something you hide away.
How to Make One
You don’t need fancy materials. Here’s a simple way to get started:
- Pick a Base: Woven baskets, old wooden crates, or even a fabric tote can work.
- Add Personality: Line it with fabric that matches your home style — paw prints, bold stripes, or soft neutrals.
- Make It Pet-Friendly: Ensure edges are smooth and safe for curious noses and paws.
- Label It: Use a cute wooden tag or stencil your pet’s name on the front to make it “official.”
- Optional Handles: Add rope handles so you can easily move it from room to room.
Train Your Pet to Use It
Start by tossing toys into the basket after playtime. Reward your dog or cat when they drop toys inside. Over time, many pets will start cleaning up after themselves (or at least help you gather everything in one place).
Extra Tips for Style and Function
- Make multiple baskets for different rooms.
- Use color coding — one basket for chew toys, one for plushies.
- Choose washable fabric liners so you can keep it clean and odor-free.
A DIY toy basket is a small project with a big payoff. It keeps your space neat, gives your pet a sense of routine, and turns cleanup into a bonding moment. Goodbye chaos — hello organized, happy home!