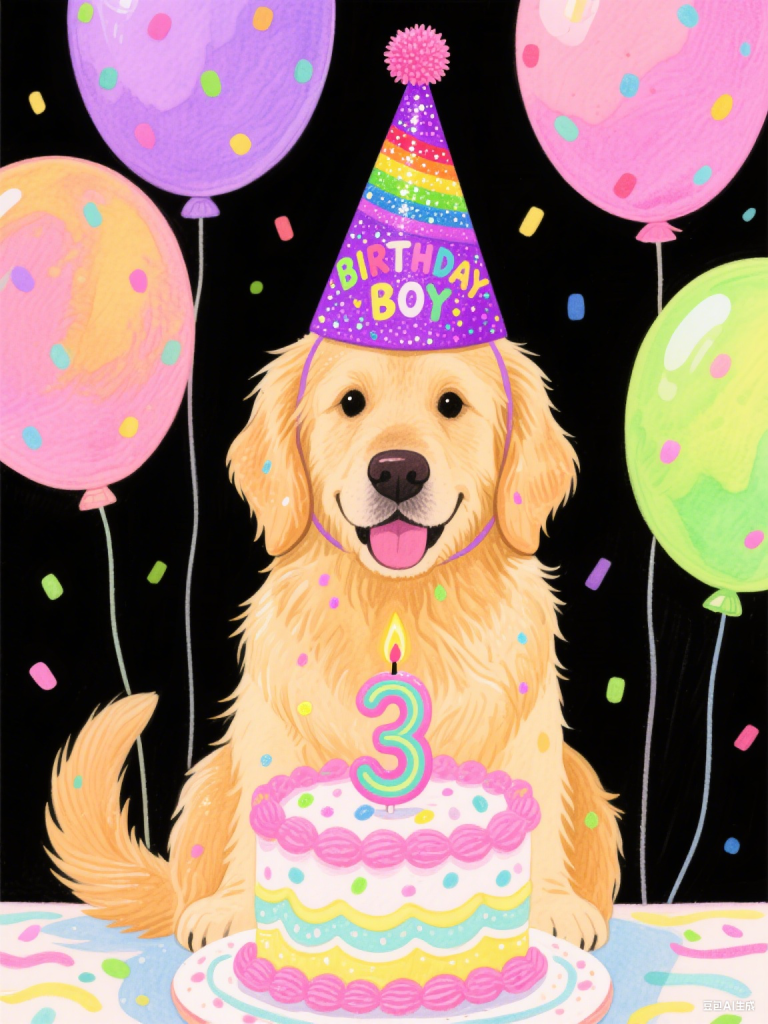
If you think birthday hats are just for kids, think again — your pet deserves to celebrate in style too! A handmade birthday hat adds a touch of fun, personality, and “paw-some” photo opportunities to your furry friend’s big day.
Why a Birthday Hat Matters
Celebrating your pet’s birthday isn’t just cute — it’s a way to honor their place in the family. A simple DIY hat can turn a regular day into a festive event, giving you adorable memories (and Instagram-worthy pictures) to look back on.
What You’ll Need
- Colored Cardstock or Felt: Sturdy yet flexible material for the hat shape.
- Elastic String or Ribbon: To keep it comfortably on your pet’s head.
- Glue or Hot Glue Gun: For assembly.
- Decorations: Pom-poms, glitter, stickers, or even your pet’s name.
- Hole Punch & Scissors: Basic tools to cut and attach straps.
Step-by-Step Guide
- Measure for Comfort: Wrap a soft tape measure around your pet’s head to size the base.
- Create the Cone: Cut a circle sector and roll it into a cone shape, securing with glue.
- Add Elastic or Ribbon: Punch two holes near the base and tie the strap, adjusting for a snug but comfy fit.
- Decorate Creatively: Add numbers for their age, a pom-pom top, or even glitter letters for a customized look.
- Test Before the Party: Let your pet wear the hat briefly beforehand so they get used to it.
Pro Tips for Success
- Use lightweight materials so your pet won’t shake it off immediately.
- For shy pets, try a headband-style hat instead of one with a chin strap.
- Match the hat design to your party theme for extra charm.
Beyond the Party
A DIY birthday hat is more than a prop — it’s a symbol of the love and care you put into your pet’s life. And once you’ve made one, you can reuse it year after year, making it a tradition your pet can grow up with.
This small, joyful craft project can transform a simple birthday treat into a full-blown paw-ty — with your furry friend at the center of attention.